❮ Blog
How To Reduce Your JPG & PNG File Size Without Losing Image Quality

Andrew Wilshere
Founder & Lead Coach
2nd July 2021
Image credit: Baseline Team
Why should you care about the file size of your images? After all, we’re all on fast internet connections these days — right?
That might be true for the lucky few, but there are people in every society around the world who rely on slow internet and restrictive data allowances.
So file size is about more than just speed. A one-megabyte photo might load in a flash in a Manhattan office, but it could be seriously frustrating — and seriously expensive — for someone who using a 2G or 3G mobile internet connection.
The good news is that it’s easy to reduce the size of your JPG and PNG files without losing image quality. And by doing so, you’ll improve the speed and accessibility of your site for every user.
In this blog post, we’ll take you through the process step-by-step.
PNG or JPG?
Before starting, make sure that you choose the appropriate file format for your image. The two most commonly used image file formats on the web today are PNG and JPG.
PNG stands for “Portable Network Graphics”. It’s intended for flat graphics where there are large areas of the same colour.
The PNG format can generate very small files when used for flat graphics. The header image above is just 37 kilobytes (kb), which is 0.03 megabytes (mb).
However, if you try to save photographs in PNG format, you will create very large file sizes. Instead, you should use the JPG file format.
JPG (or JPEG) is a file compression algorithm designed for photographs and complex or textured graphics. (JPEG stands for Joint Photographic Experts Group — the name of the organisation that first developed the algorithm.)
The JPG format dramatically reduces the file size of photographs. But if you try to save flat graphics as JPGs, you will get low-quality results and unnecessarily large file sizes.
So — use PNG for flat graphics, and JPG for photos and complex graphics.
Step 1: Resize the image itself
The larger an image’s pixel dimensions, the larger the file size will be.
A photo 4000 pixels (px) wide and 3000 px high might have a file size of 4 megabytes (mb). That same image resized to 2000 px wide and 1500 px high might be closer to 1 mb.
To determine how big your image needs to be in terms of pixels, you’ll need to find out the size of the space where it’s going to be displayed. (If you’re a working designer and are unsure about this, your developer should be able to help.)
Here’s an example:
- The main text column in this blog layout is 664 px wide on desktop.
- Because high-definition screens can show more pixels, we need to double this number to ensure that the image looks sharp on all displays.
- Any image for this layout should therefore be 1328 px wide.
As an illustration, we’re going to use this photo by Coen van de Broek . When we downloaded it, the full size version was 1.7 mb, with dimensions of 6000 px by 4000 px.
After resizing it to 1328 px by 885 px, it’s already down to 800 kilobytes (or 0.8 mb). Here’s how it looks after Step 1:
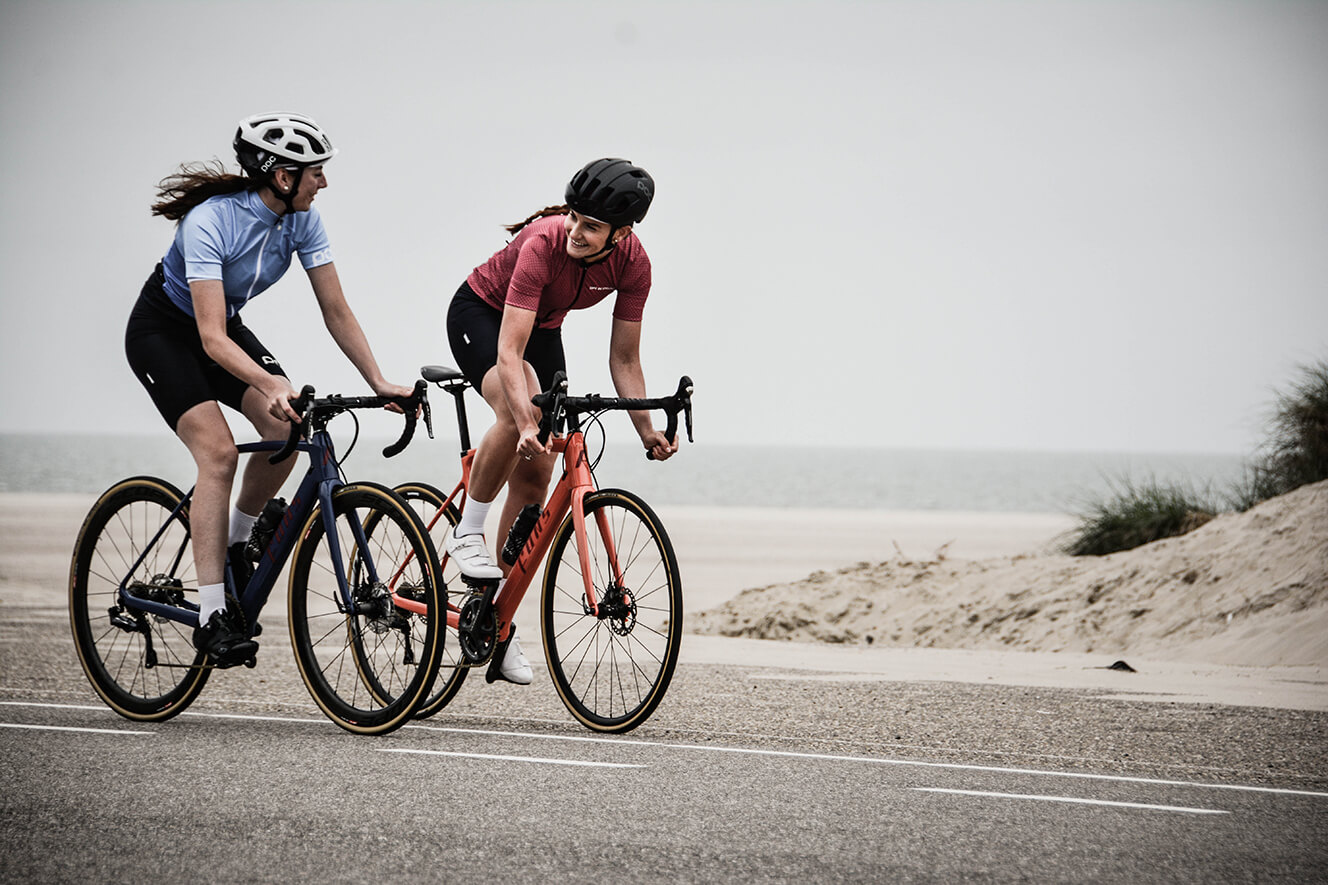
1328 px wide, JPEG compression level 12, file size 0.8 mb
Step 2 (JPG only): Increase the image compression
When you save a JPG, you can choose a compression level between 1 and 12. 1 is the highest compression (smallest file size), and 12 is the lowest compression (biggest file size).
JPEG is a “lossy” file format, which means that some detail gets lost from the image as you increase the compression.
However, it’s usually safe to go down to compression level 8 without any visible alteration to image quality.
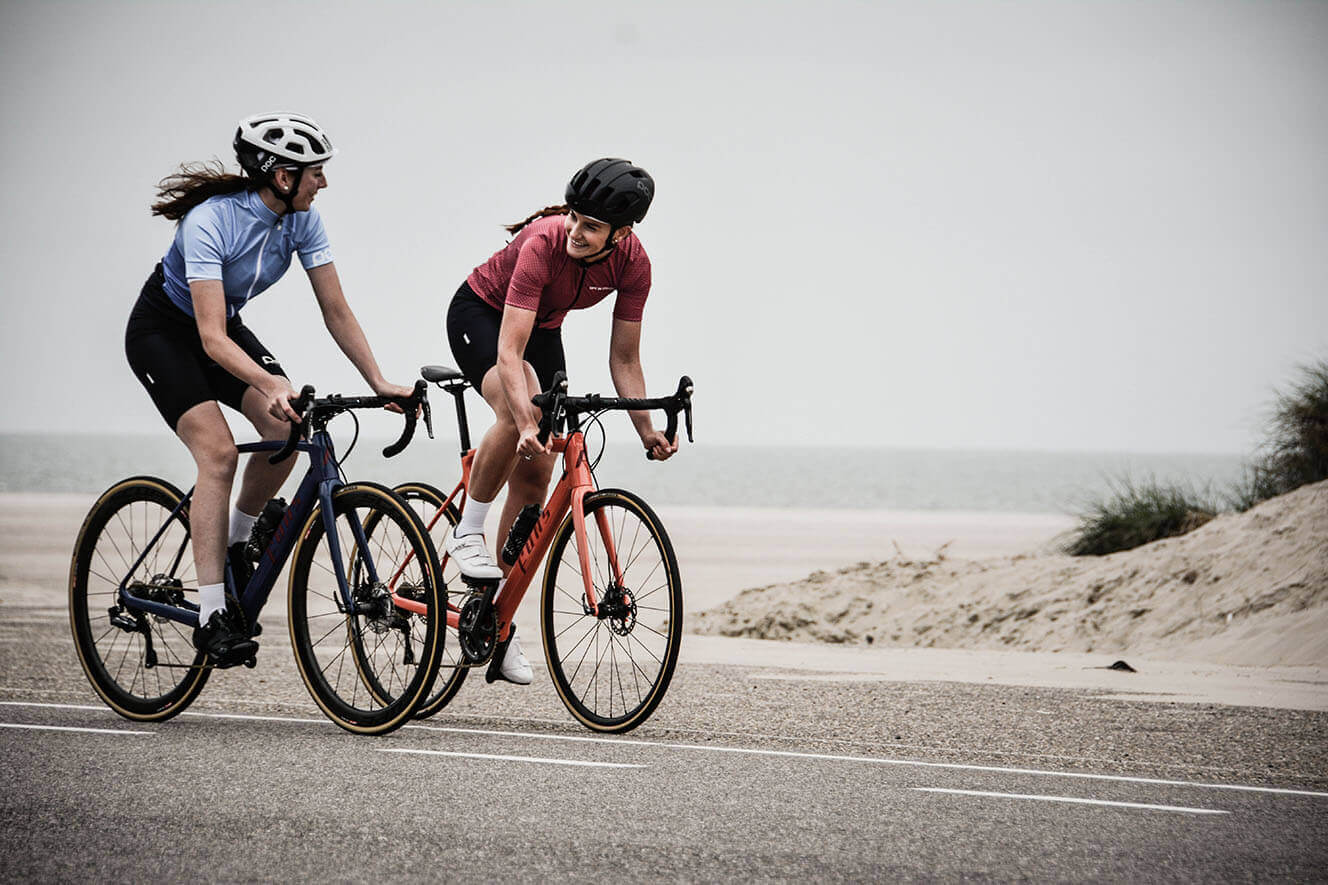
When we reduced our example image to compression level 8, that brought the file size down to 200 kilobytes (or 0.2 mb). Here’s how it looks. Pretty similar, right?

1328 px wide, JPEG compression level 8, file size 0.2 mb
Step 3: Put the image through a compression tool
Tools like TinyJPG (which handles both PNGs and JPGs) can further compress your image without visible loss of quality. It reduced the file size of our photo by a further 30%:
1328 px wide, proprietary TinyJPG compression, file size 0.14 mb
Further steps
There are some more advanced steps you can take to reduce image size further, but these get quite techy.
By following the three simple steps above, we reduced the original file size by 92% (from 1.7 mb to just 0.14 mb).
For most projects, following this process will significantly improve the load time and accessibility of a site, without adding a lot of extra work for designers or developers.
Want to learn about design?
Baseline is a free design bootcamp with 100% in-house course materials. You can start at the beginning or check out the design principles assignments to get a feel for things.
Prefer to subscribe?
RSS/XML Feed
Been considering a design course?
All of our course materials have been created in-house by expert educators. They’re available, in full, for free.
We don’t ask for your email address, or make you create an account.