Course · Part 1 · Assignment 3
Intro 
What You Need for This Course
KeyThree
The key points from this assignment.
- Sign up for a free Figma account !
- Get a quality (paper) notepad, ideally with a dotted grid
- Download a visual timer app to your phone, and get access to a printer, if you can
Image credit: Atlas Stationers
Introduction
In this assignment, we’ll run through a few key things that you need to support your work during this course.
Sign up for a free Figma account
Image credit: Figma
Figma is a digital design tool. It can run in your browser, or as a standalone app on Mac or PC. It’s also free! Sign up at figma.com .
Don’t worry about how to use it yet — we’ll provide tutorials with instructions relevant to each assignment.
Get a paper notepad

Image credit: Moleskine
Ideally, get a notepad with a light dotted grid, like these Leuchtturms or Moleskines . Grids like this mean that you’ll have a guide for your writing and drawing, but without heavy lines getting in your way.
We find that Leuchtturms are better if you prefer a wet-ink pen, because the ink doesn’t soak into the paper as much.
Get a visual timer, or a visual timer app
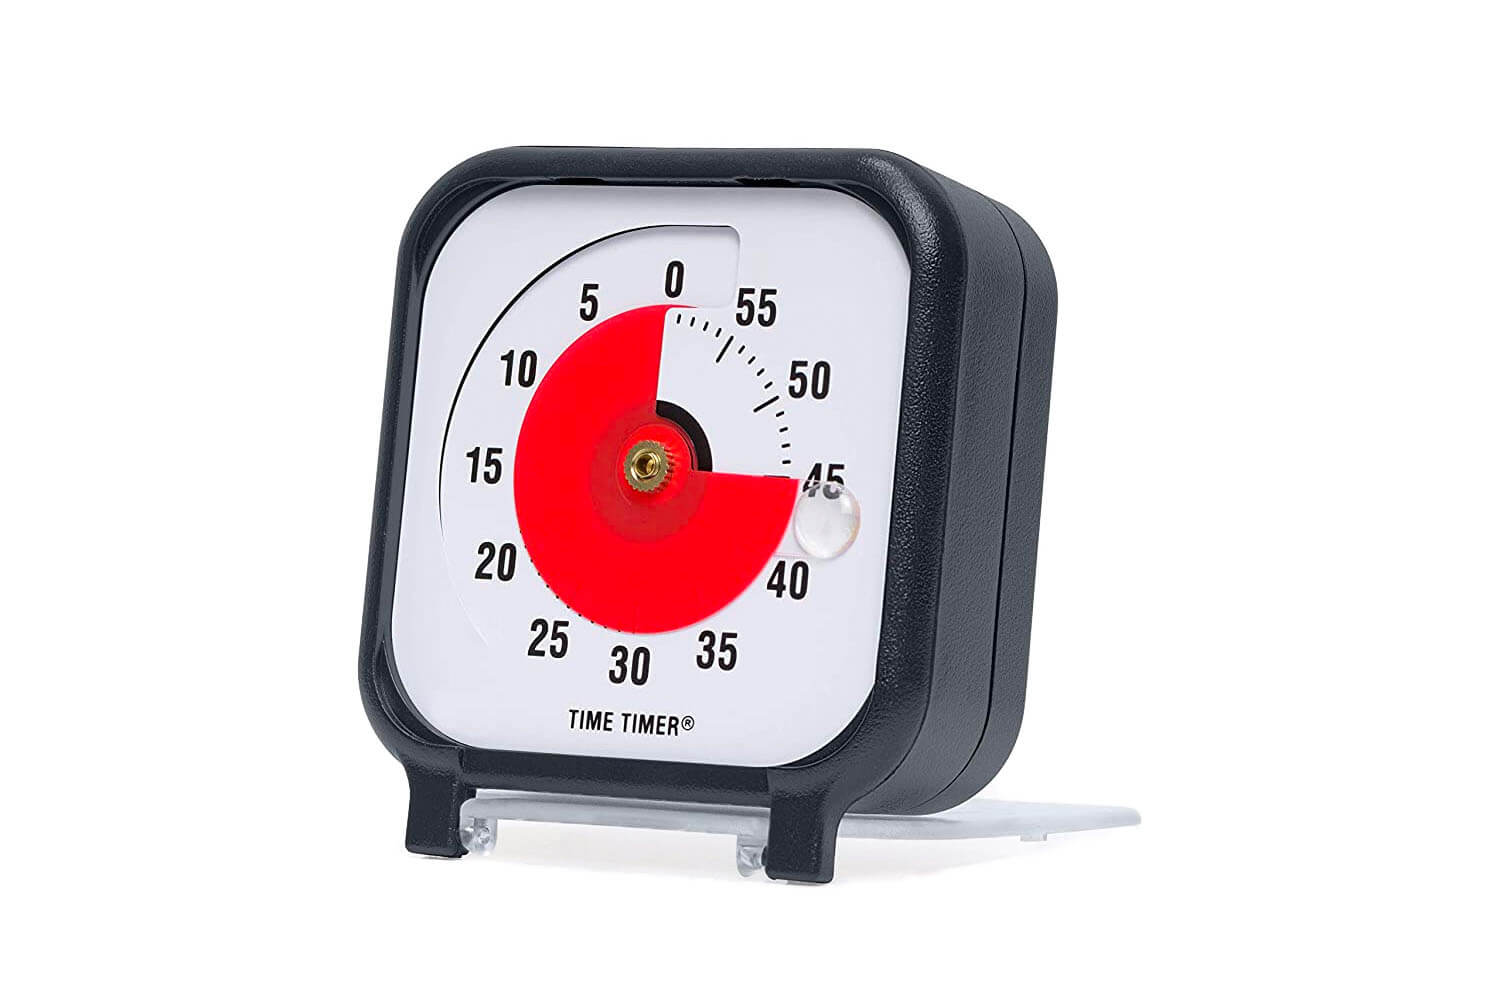
Image credit: Time Timer
Making consistent progress is more important than perfecting work. For that reason, every “Practise” and “Apply” assignment in this course has a time limit specified.
We strongly recommend that you get a visual timer, or download a visual timer app, to help you structure your work and observe these time limits. A visual timer is different from a regular timer, because it shows, usually as a red block, how much time is left.
Our favourite physical visual timer is this big one by Time Timer — the original inventors. The same company also offer iOS and Android apps — just search for “Time Timer” in the app store from your phone.
Get access to a printer, if possible
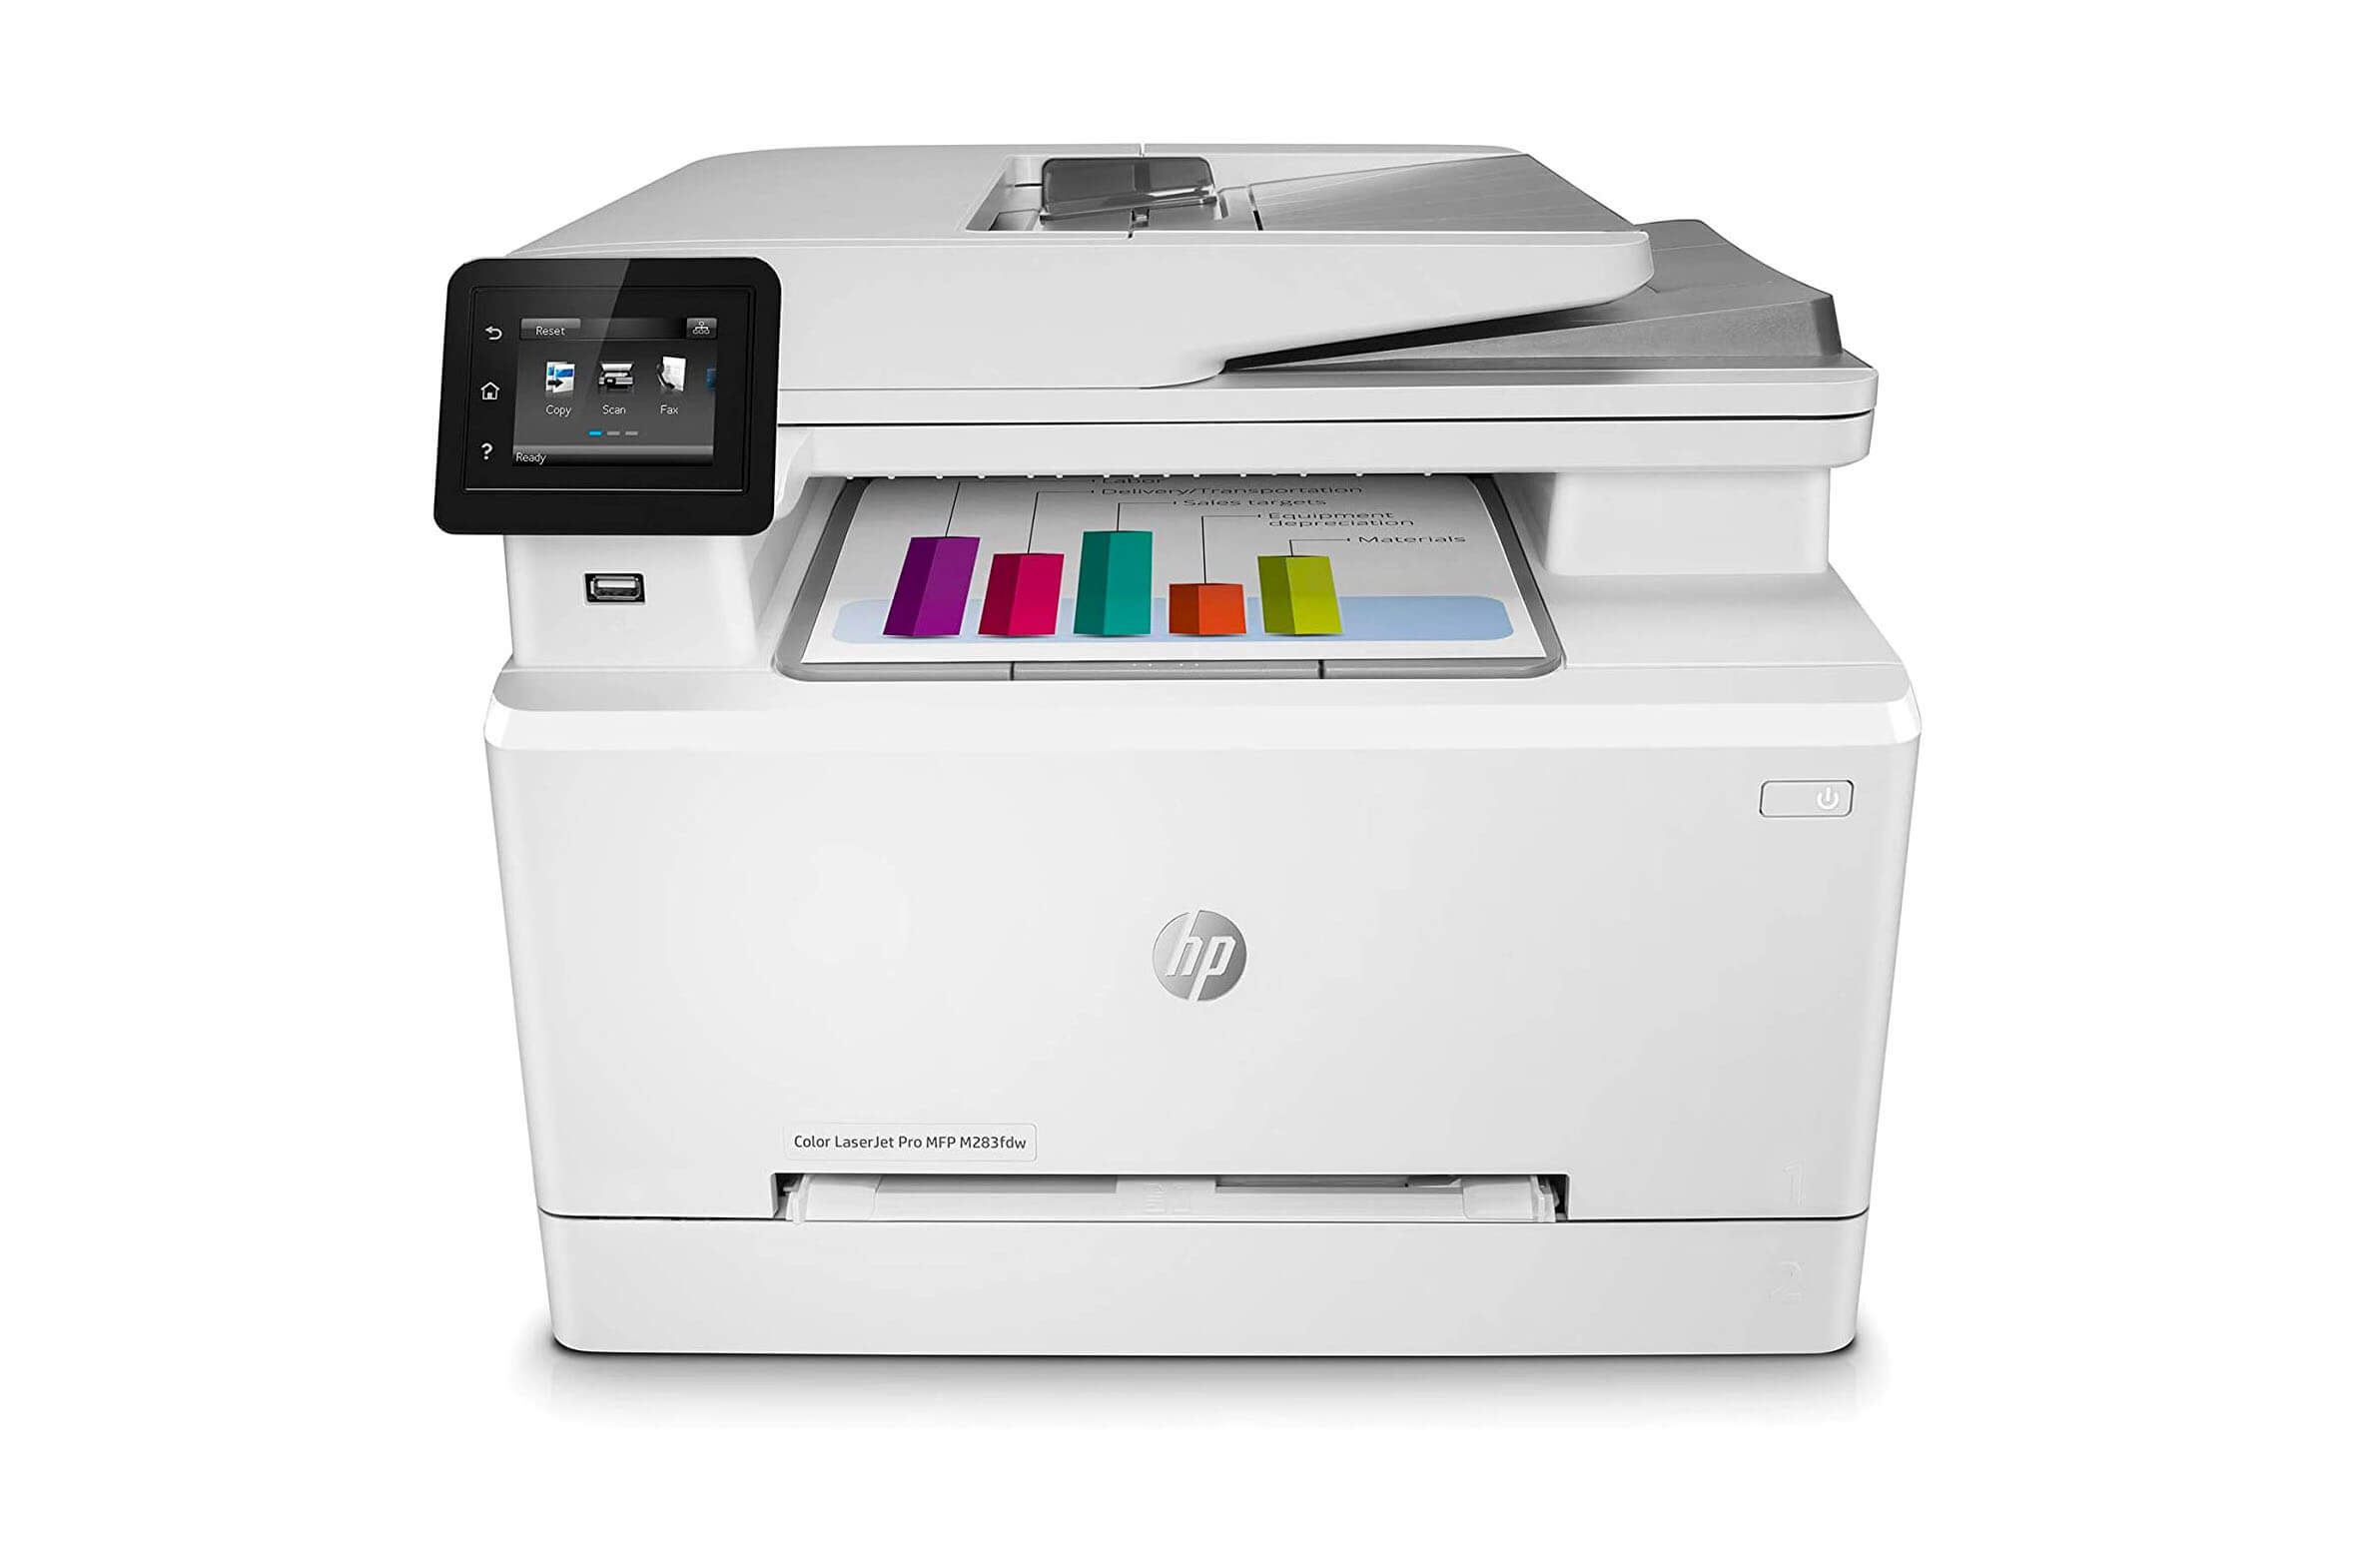
Image credit: HP
Working on paper is very important, because it’s tempting for us as designers to spend all our time in front of a computer.
Design problems generally don’t get solved with a computer, though. It’s by stepping away from technological distractions that we can think and collaborate most freely, and tackle design projects most creatively.
As well as enabling you to print out the templates and checklists provided during this course, having access to a printer will allow you to review your own designs on paper. You might be surprised at how many different things you’ll notice when you’re able to annotate a hard copy of your work.
If you’re considering buying a printer, we strongly recommend getting a multifunction colour laser. Here’s why:
- Although they are initially more expensive than inkjet printers, laser printers are a lot more economical to run. Using an inkjet to do a lot of printing will cost you a small fortune over time.
- Having a multifunction device with a flatbed scanner will allow you to scan in any sketches, collages, or other handmade design elements that you’d like to use in your projects.
- Laser printers typically have a long life and are easy to service, meaning that it will continue to be a useful tool for you long after you’ve finished the course.
In conclusion...
Regardless of whether you’ve got your dotted notepad yet, it’s time to start sketching! Let’s begin your first hands-on assignment.