Course · Part 5 · Assignment 23
Apply
Guided Brief: Design a Magazine Feature
Digitise Your Design
![]() Time limit: 4 hours
Time limit: 4 hours
Remember to use your visual timer! We recommend the inventor’s iOS and Android apps — just search for “Time Timer” in the app store.
Explanation
Now that you’ve got your Figma or InDesign document set up, it’s time to begin digitising your design!
Instructions
Choose which design to digitise
Review your two detailed layout sketches, and pick the strongest one to create digitally. If you can’t decide which one to use, think back to the brief, and ask yourself which design best meets the requirements set out.
Build out your design in Figma or InDesign
Spend up to 4 hours working on a computerised version of your chosen layout. Here are some tips:
Tips for working in Figma
- The Figma template we provided in the previous assignment contains four artboards with an example 6-column grid set up. Replace this grid with whatever your own design requires. You can create a modular grid by adding another grid in the Inspector, formed of rows.
- You can create extra guidelines in Figma. To do this, press shift R to turn on rulers. Then, click inside the ruler and drag towards the canvas to create a new guide. To delete a guide, simply click on it and press delete
- Duplicate your artboards regularly so that you can look back through previous iterations of your design
- To create a double-page spread in Figma, create a separate artboard for each page, and then push them up against each other. Then, when you need to export the page or spread, you can use the “Slice” tool.
- As Figma isn’t a specialised editorial design tool, you’ll need to flow the text between different columns manually. To do this, set up all your text boxes, then paste all of the copy provided in the brief into the first text box. Then, cut the text that overflows that text box, and paste it into the next text box, and so on. If you decide to change the text size, line spacing, etc., you’ll need to repeat the process — but treat it as extra practice working with Figma’s interface.
Tips for working in InDesign
- Each time you start working on a variation of your design, duplicate all your pages so that you can look back through the iterations on your work. To do this, select the four pages in the pages panel, then hold down option (Mac), and click and drag within the pages panel to duplicate them.
- To insert an image in InDesign, it’s important to use the Place command, rather than to copy and paste. Doing this prevents file sizes getting too big, and, in a real-life print project, allows you to easily package up the image files before sending them to the printer.
- InDesign allows you to “flow” text automatically from one text frame to another. To do this, first create all of your text frames. Then select your first text frame. Click the little icon in the bottom right, and then click the next frame. Repeat the process to flow text from frame 2 to frame 3, etc.
Review your two detailed layout sketches, and pick the strongest
Review the example solution
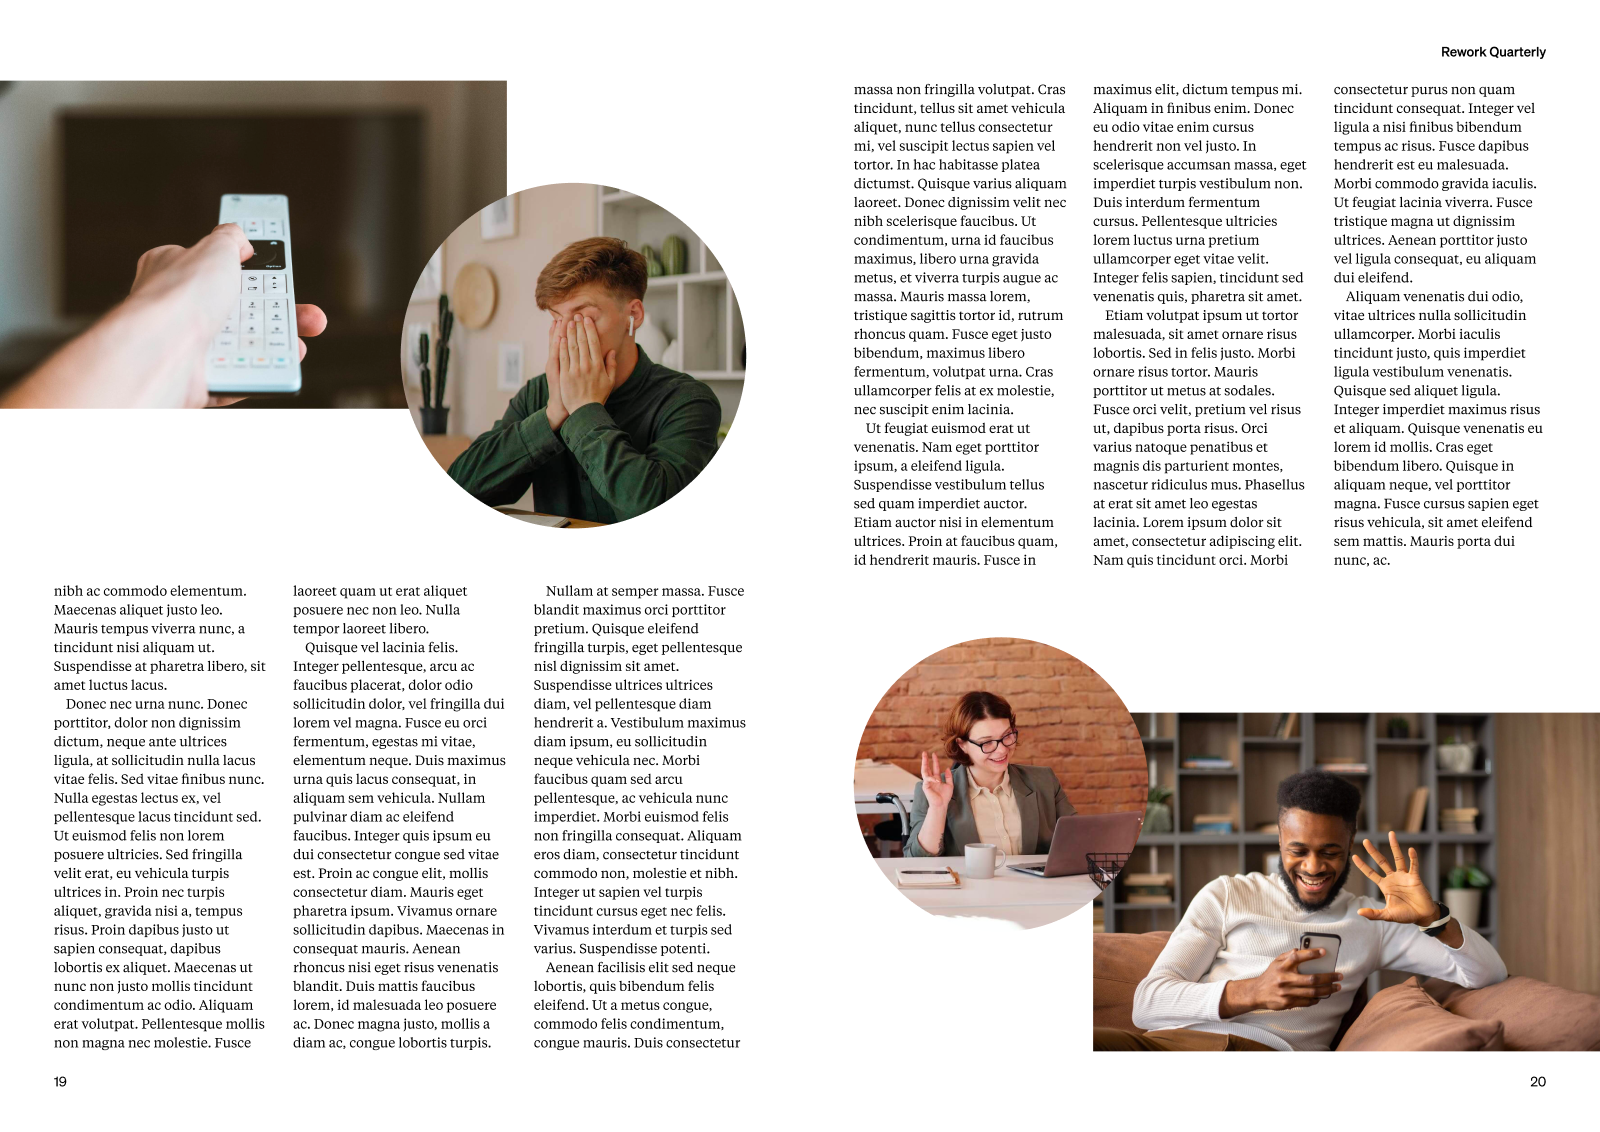
Once you’ve completed your work on this assignment, take a few minutes to review the example solution below.
Example solution


In conclusion...
In the next assignment, wrap things up by completing some final checks and creating a PDF of your magazine feature design.