Course · Part 3 · Assignment 4
Apply 
Create a Flyer Design in Figma
![]() Time limit: 2 hours
Time limit: 2 hours
Remember to use your visual timer! We recommend the inventor’s iOS and Android apps — just search for “Time Timer” in the app store.
Explanation
Back in Part 2, you completed a full-size sketch for a flyer design in response to the brief below.
In this assignment, you’ll digitise your sketch in Figma!
Background: Rework is a small group of coworking spaces in London, England. They have been in business for just under 2 years, and are opening a new space in the Spitalfields area of the city.
Design direction: The flyer needs to be impactful and exciting, but it also needs to be cool and professional. The aim is to appeal to young professionals who freelance. They might currently work from home, or already use a different coworking space. The flyer needs to be in black and white only, and it will be on A5 paper.
The following text needs to appear in the flyer:
Rework
Work smarter, not harderRework’s new Spitalfields coworking space can help you improve your productivity and focus, get your work/life balance back, and find new connections.
Book a day’s free trial
Call 020 12345678
Or email bookings@rework.co
Instructions
Set up your Figma file
First, create a new document in Figma, and rename it like you did in the last assignment.
Next, create an A5-size artboard by following these steps:
- Select the Frame tool (remember, it’s F on the keyboard, or the hashtag-like button in the toolbar)
- Select the “Paper” option from the panel on the right of your screen
- Select “A5”
Set up your grid
Once you learn how to set up grids in Figma, they’re easy to use — but at first they can be a bit unintuitive.
Here are the steps for how to set up a six-column grid. You might like to complete these first, and then repeat the process to set up the grid you want to use for your flyer design.
- Make sure you have the A5 frame selected. You can select any frame either by clicking its name in the layers list on the left of your screen, or by clicking the frame’s name just above the frame itself.
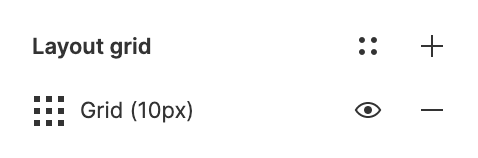
- In the inspector panel on the right of your screen, click the “+” symbol next to “Layout grid”. This will create a new grid for the frame you have selected.

- Figma defaults to a crosshatched grid, but what we want is a column grid. To change it, click the little icon to the left of the “Grid (10px)” label.
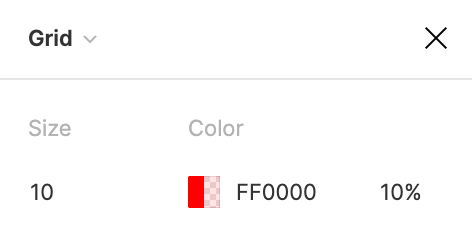
- Next, click the “Grid” dropdown, and select “Columns”.
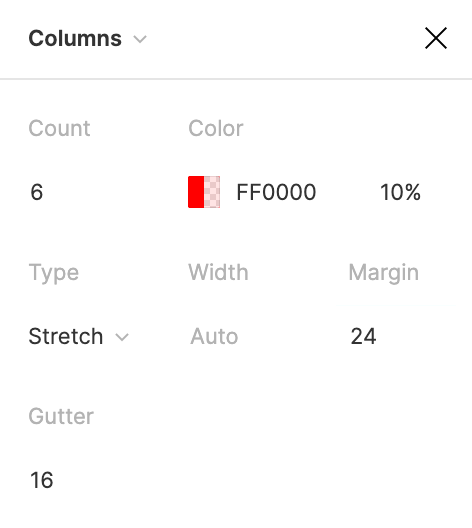
- Finally, set the number of columns to 6 under “Count”, and change the “Margin” (which is the space to the left and right of the grid) to 24, and the “Gutter” (which is the space between columns) to 16. Those numbers are in pixels.
When setting up your grid, don’t worry about exactly which numbers you pick for your margin and gutter. We’ll be talking about grids in detail in Part 4.
Design your flyer!
 Set your timer: 1 hour 45 minutes
Using what you learned in the last assignment — about the shape tools, text tool, and Boolean groups — have a go at creating your flyer design digitally. Remember to have your sketch in front of you.
If you want to explore different versions of your design, make sure to duplicate your frame before making changes. To do this, select the frame, then press command D on Mac, or control D on PC.
It doesn’t need to be perfect, or anywhere near perfect. The purpose of this assignment is really to get some practice in Figma.
There are some tips below that should help you if you get stuck while working on your design. Have fun!
Tips
- For the flyer text, simply copy and paste from the brief above!
- To zoom in and out, use the + and – keys.
- To “pan” (scroll) around the canvas, hold down spacebar, and while holding it down, click and drag.
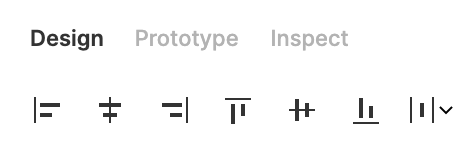
- If you’re trying to line objects up with each other, try using the alignment and distribution tools. When you have one or more objects selected, they appear at the top of the inspector panel on the right of the screen. Play around and try to figure out what they do!
- To rotate something, select it, then hover the mouse pointer just outside the corner of the object. The mouse pointer will turn into a little rotate icon. Then, just click and drag.
- All layers in Figma are either in front of or behind other layers. If you want to move something “backwards” (down the layers list), first make sure you have it selected, then press command [ on Mac, or control [ on PC. To move an object “forwards” (up the layers list), use ] instead.
- If you have a lot of layers, you might want to send something straight to the back. You can do this by pressing command option [ on Mac, or control alt [ on PC. To bring an object straight to the front, use ] instead.
- If your design includes a photo, you could either just use a shape as a placeholder for now, or you could find a suitable image on Unsplash or Pexels , and then insert it into your Figma file. To place a photo into your design, press command shift K on Mac, or control shift K on PC.
Review the example solution
Before moving on to the next assignment, take a few minutes to review the example solution below.
It’s fine if you’ve not “finished” — the purpose of assignments in this course is to help you learn, not always to lead to completed designs.
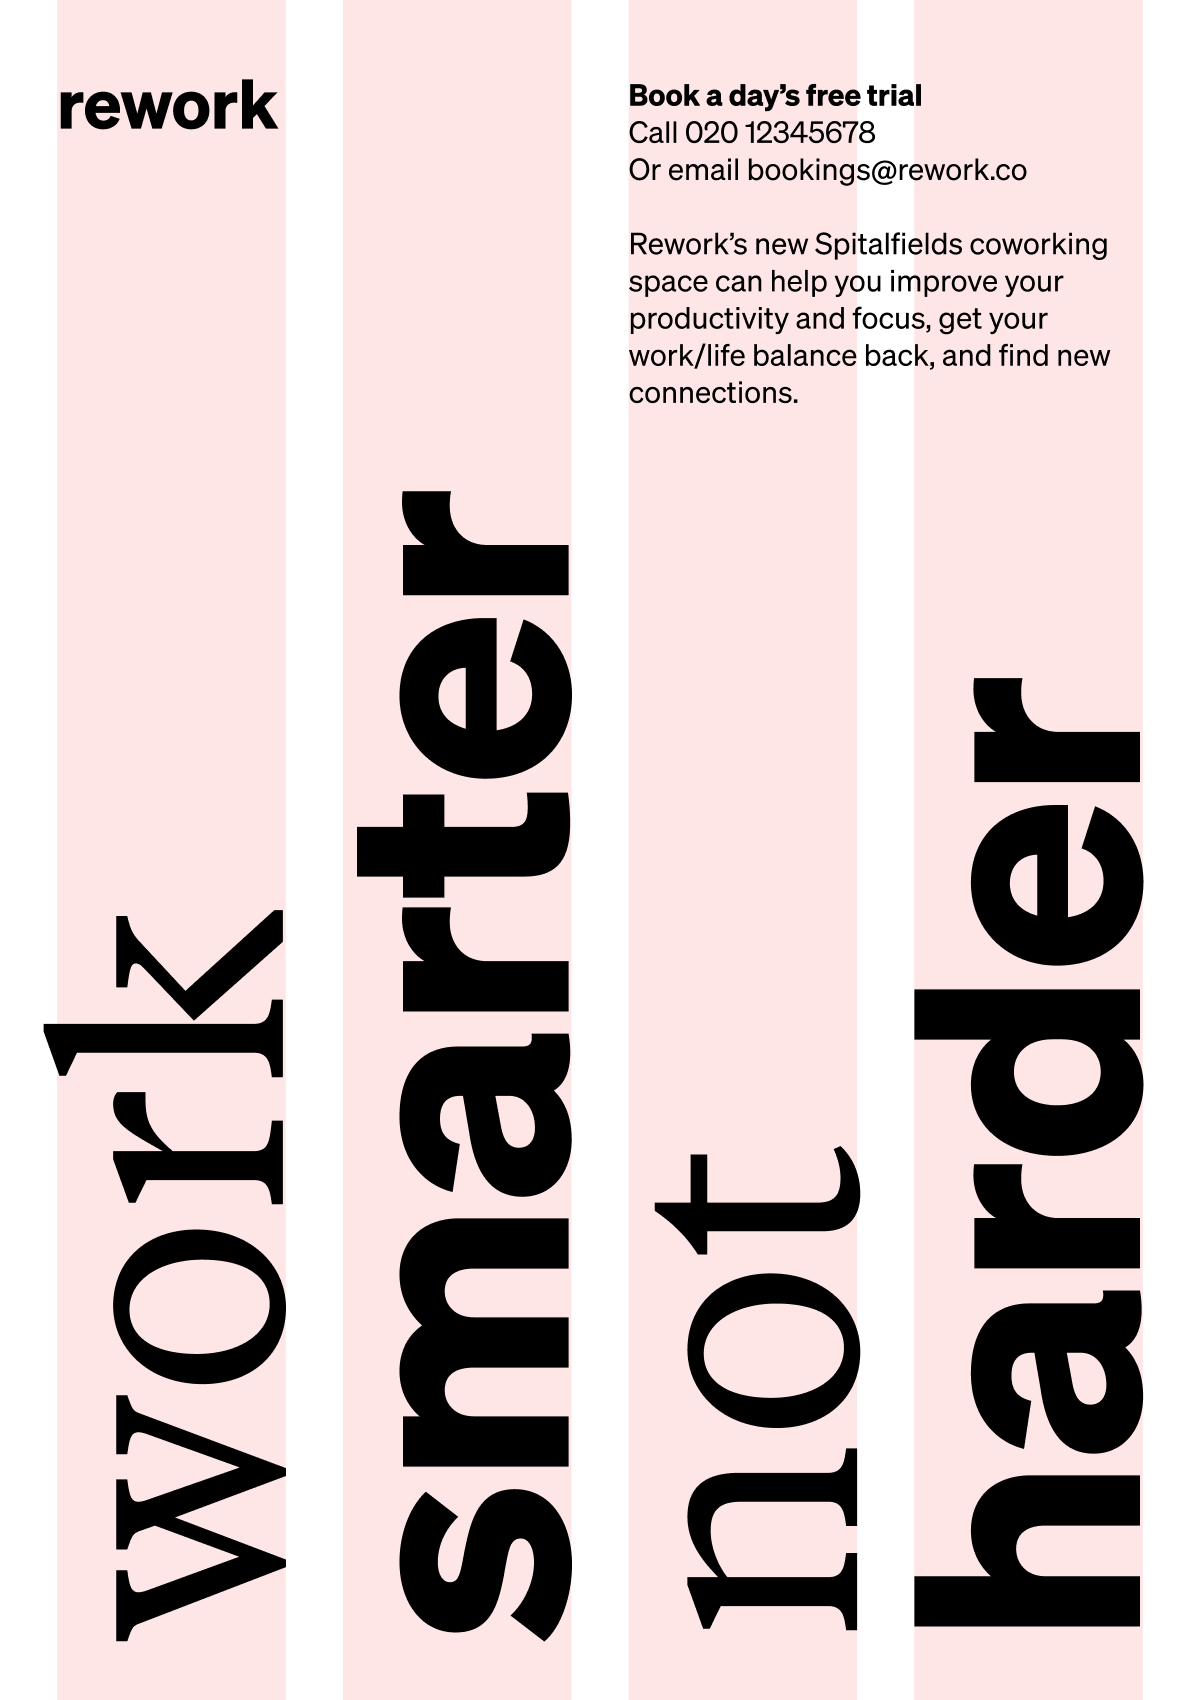
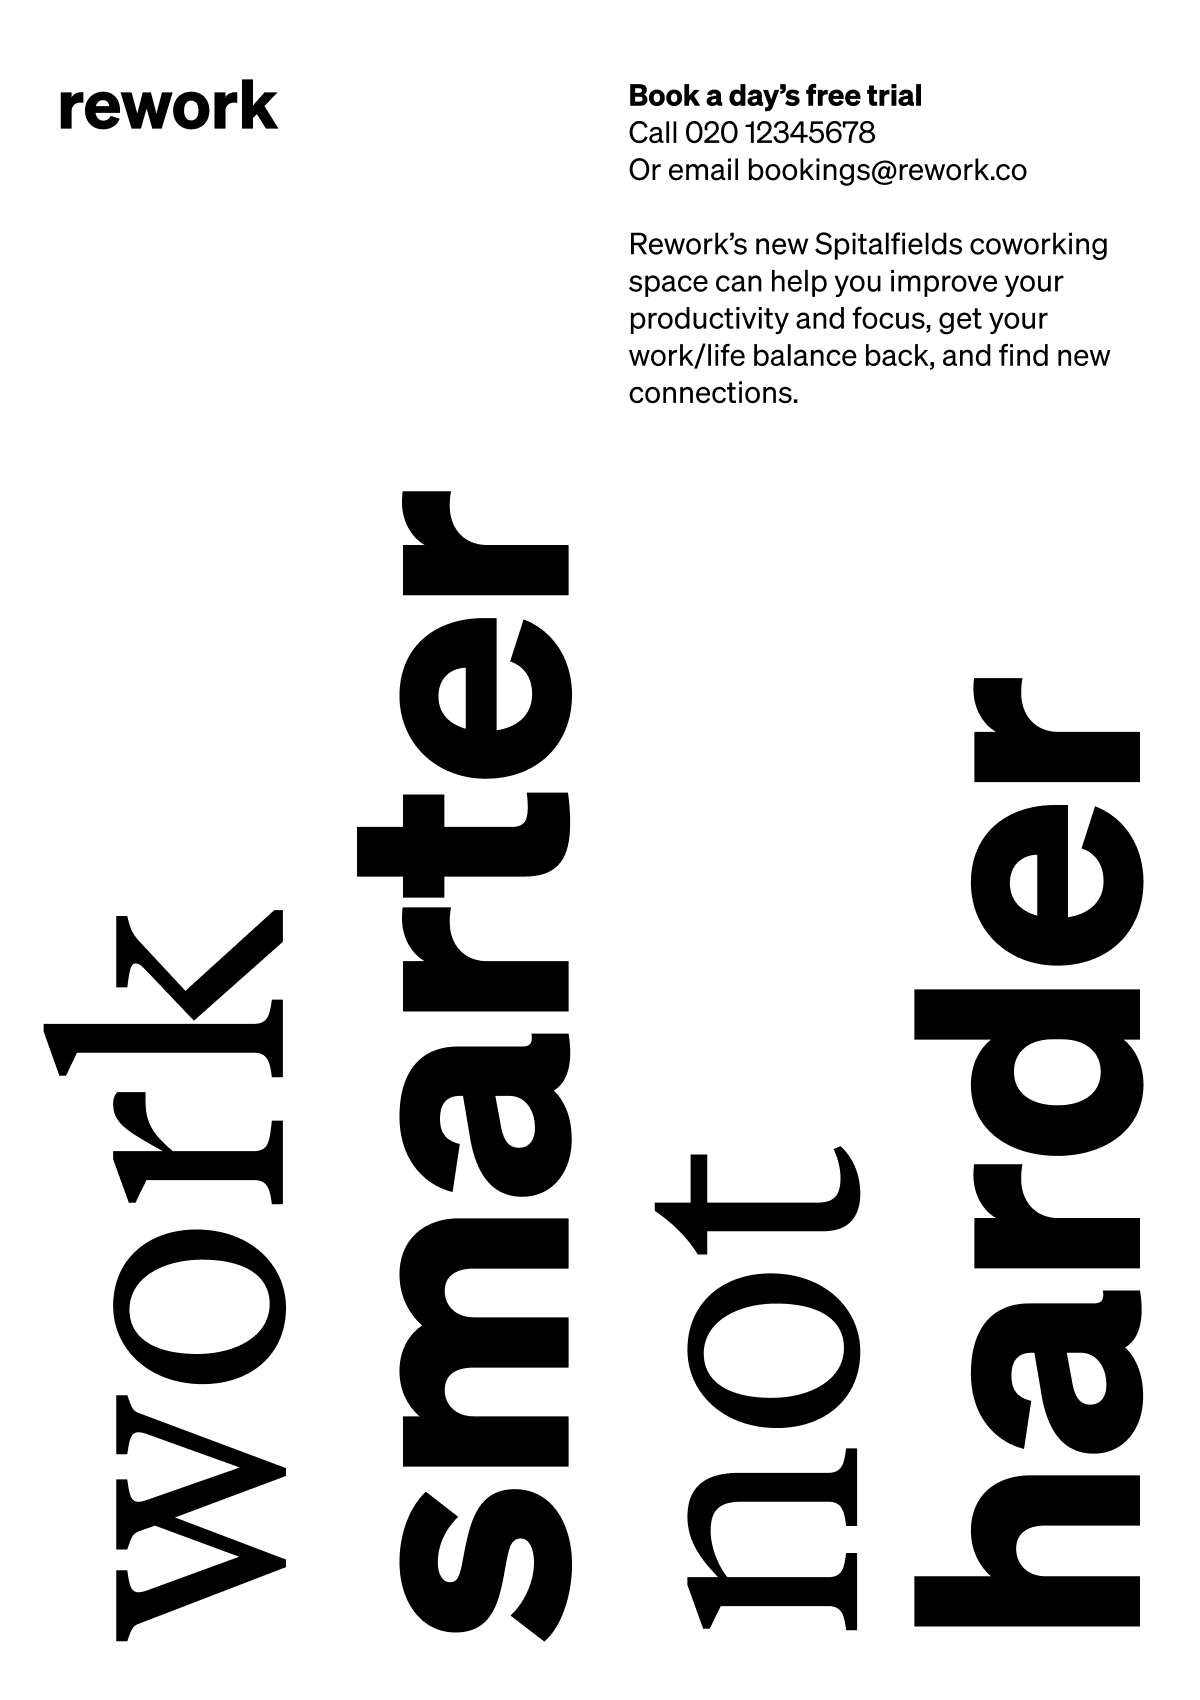
Example solution
Pictured below is the four-column grid we set up in Figma, and our digitised version of the flyer design we sketched in Part 2.
We chose to use text only, focusing on how we could create impact using visual principles like contrast, visual hierarchy, and spacing.

In conclusion...
Hopefully you’re feeling like you’ve got a grasp of some Figma basics after tackling the last two hands-on assignments. You’ll continue building on this learning through further tutorials and assignments throughout this course.
Next up, let’s talk a bit about workflow — both within design software like Figma, and in design projects more generally.